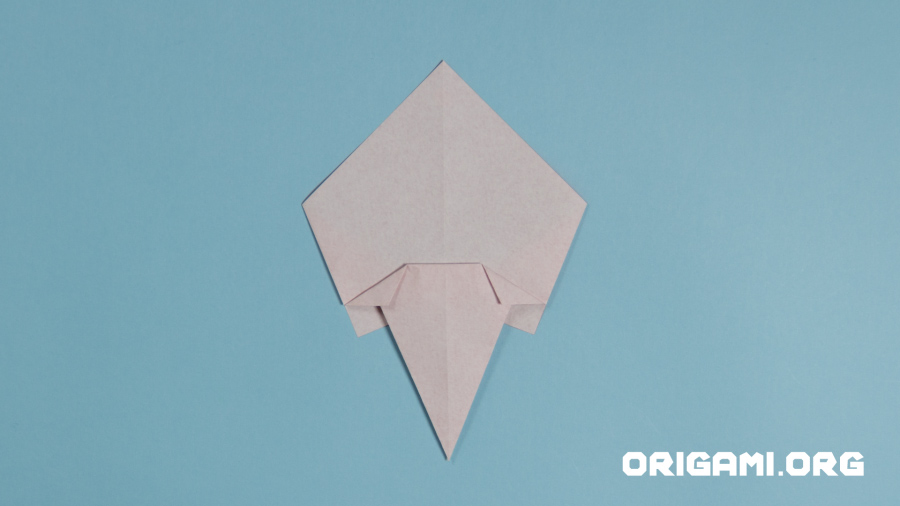
Step 11: Your paper should now look like this
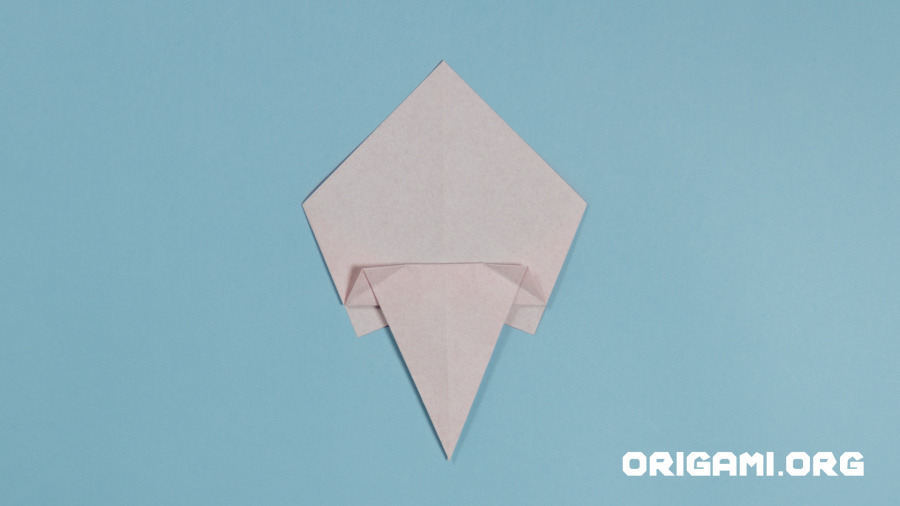
Step 12: Unfold the last creases
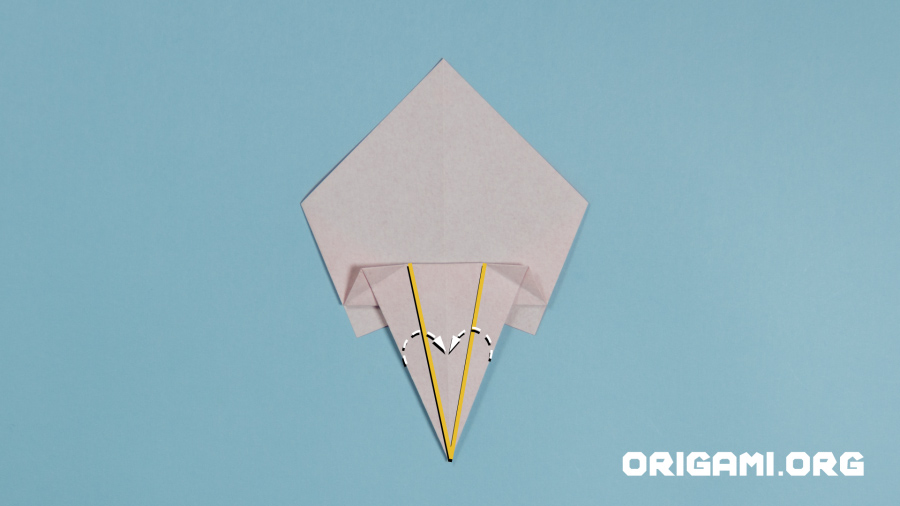
Step 13: Fold the left and right sides of the lower point inwards to meet the centre vertical crease line

Step 14: Once you have flattened down these creases your paper should look like this

Step 15: Fold the top tip downwards

Step 16: Turn the paper over and that’s the head of the rose now completed!

Step 17: Let’s create the rose’s leaves. Start with a square piece of origami paper – green would be perfect! (we’ve used origami paper with colour on only one side). Place the paper in a diamond shape.

Step 18: Fold the top point down to meet the bottom point

Step 19: Open up the paper

Step 20: Fold the top and bottom points in to meet the centre horizontal crease line
