• Skip to main content
  • Skip to primary sidebar
  • Skip to footer
  • Home
  • About
    • Senbazuru – 1000 cranes
    • Origami Paper – A Complete Guide
    • Using Origami in Education (age 7-12)
    • Architecture Inspired By Origami
    • Origami and Mathematics
    • Corporate Logo Gallery
    • Origami Puzzle
  • Benefits
    • Exploring the Mental Health Benefits of Origami
    • The Therapeutic Benefits of Origami in Occupational Therapy
    • How Origami Can Improve Executive Functioning
    • How Origami Can Help with Anxiety, Autism, and ADHD
    • Musical Muses: Top Songs for Artistic Creativity
    • Relaxing Destinations
  • Instructions
    • Easy Origami
      • Origami Fortune Teller
      • Origami Pokemon (Pikachu)
      • Origami Boat
      • Origami Heart
      • Origami Paper Plane Dart
      • Origami Envelope
    • Origami Animals
      • Origami Cat (Easy)
      • Origami Bird
      • Origami Dog
      • Origami Jumping Frog
    • Other Origami
      • Origami Yoda
      • Origami Ninja
      • Origami Ninja Star
      • Origami Heart With Wings
      • Origami Star Box
      • Wrapping presents without tape
      • Origami Flower Bouquet
      • Origami Cornflower
    • Origami Birds
      • Origami Owl
      • Origami Turkey
      • Origami Bird
      • Origami Crane
    • Dollar Bill
      • Origami Dollar Bill Shirt and Tie
      • Origami Dollar Bill Elephant
  • Français
    • English
    • Deutsch
    • Português (Brasil)
origami.org logo

Origami.org

People Folding Paper

Origami Rose (part 2)

November 15, 2023 by Origami Admin

see previous steps
Origami Rose Step 11

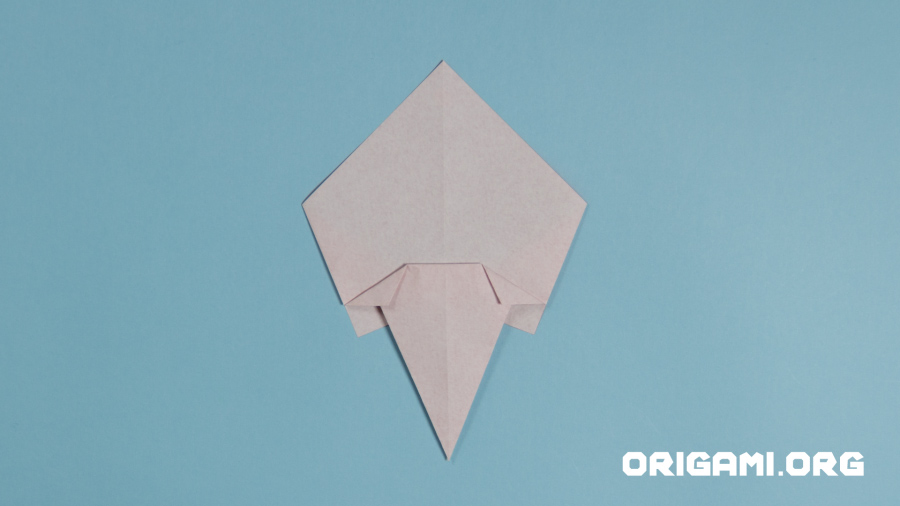
Step 11: Your paper should now look like this

Origami Rose Step 12

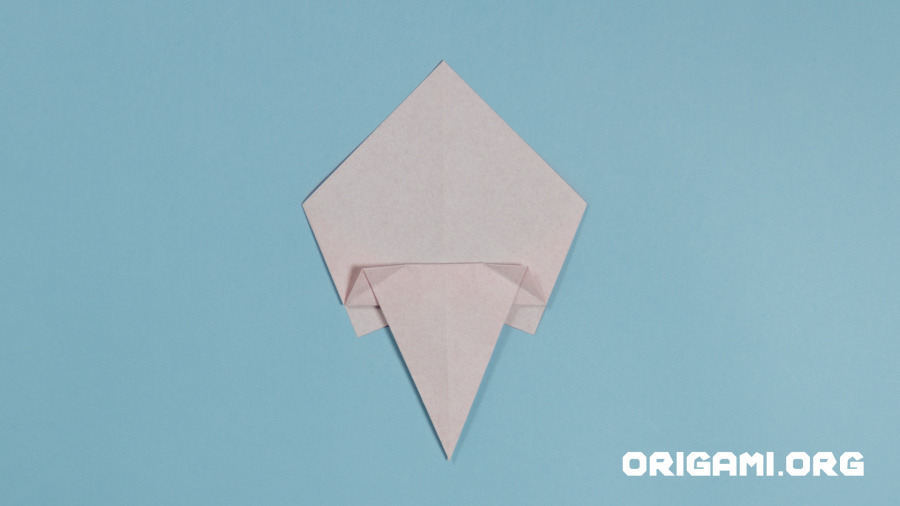
Step 12: Unfold the last creases

Origami Rose Step 13

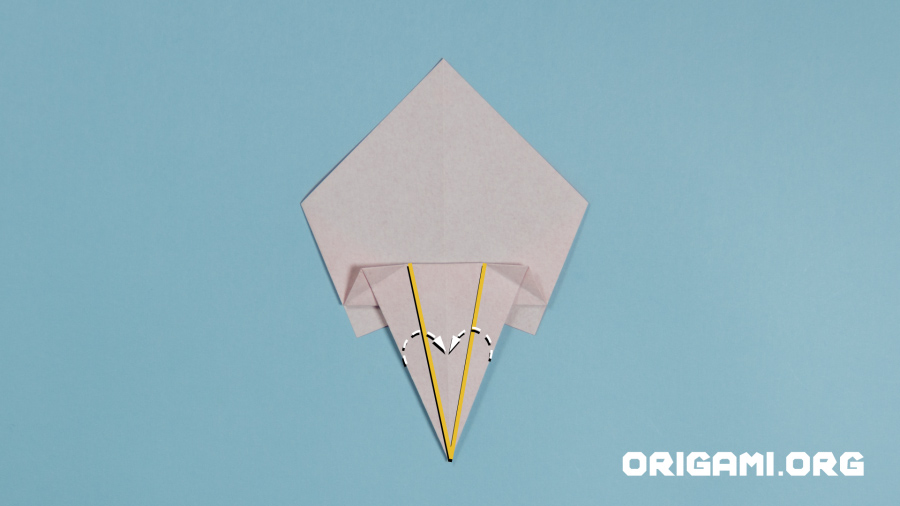
Step 13: Fold the left and right sides of the lower point inwards to meet the centre vertical crease line

Origami Rose Step 14

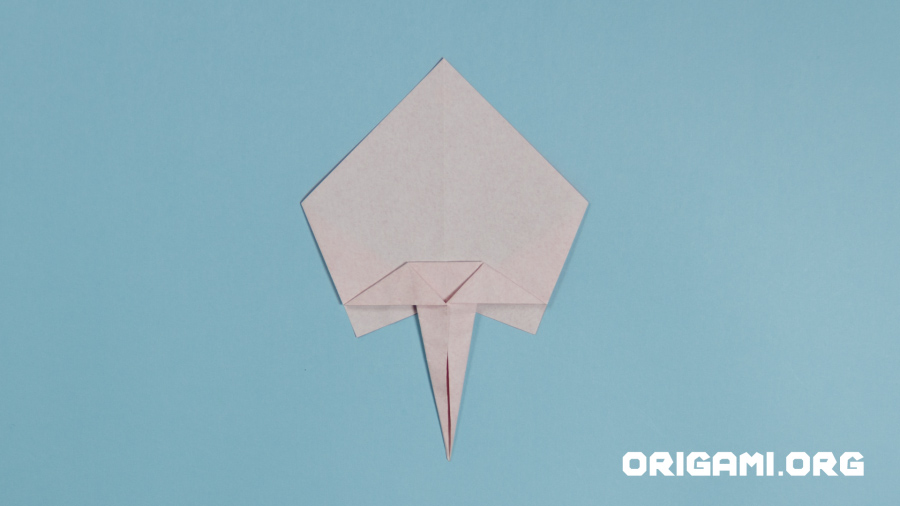
Step 14: Once you have flattened down these creases your paper should look like this

Origami Rose Step 15

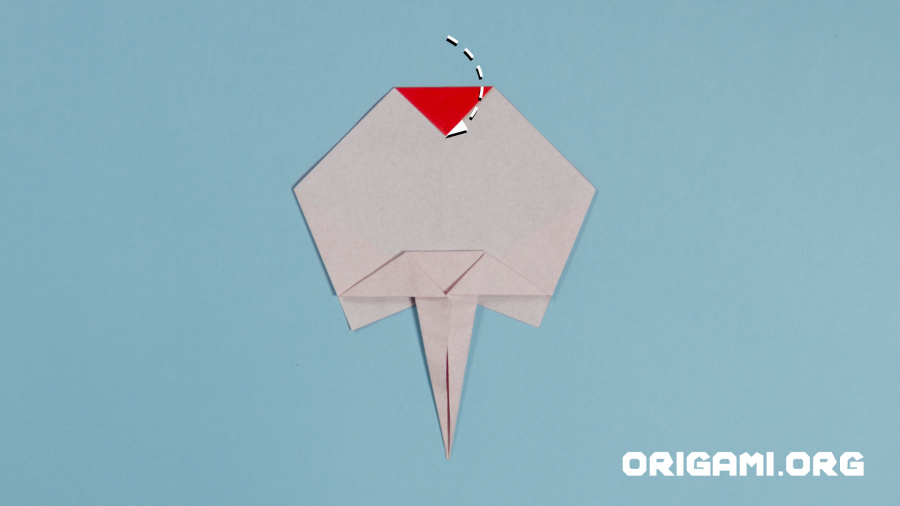
Step 15: Fold the top tip downwards

Origami Rose Step 16

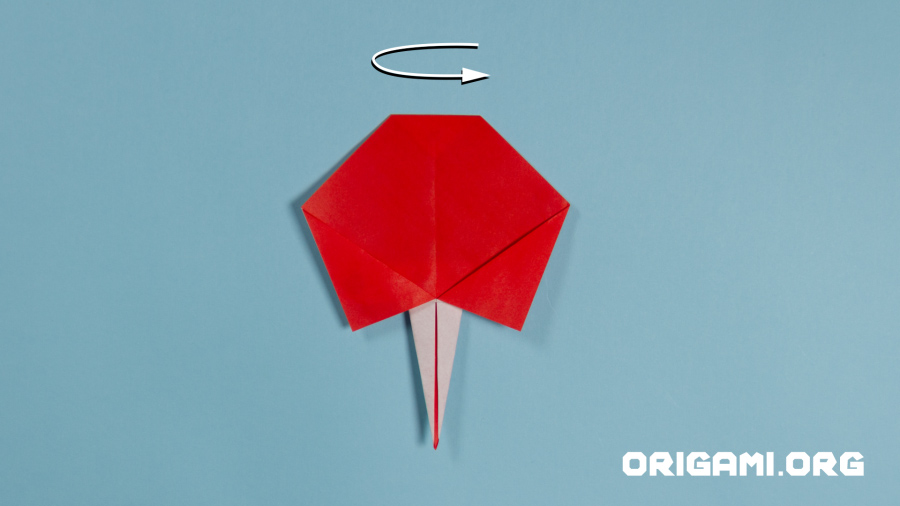
Step 16: Turn the paper over and that’s the head of the rose now completed!

Origami Rose Step 17

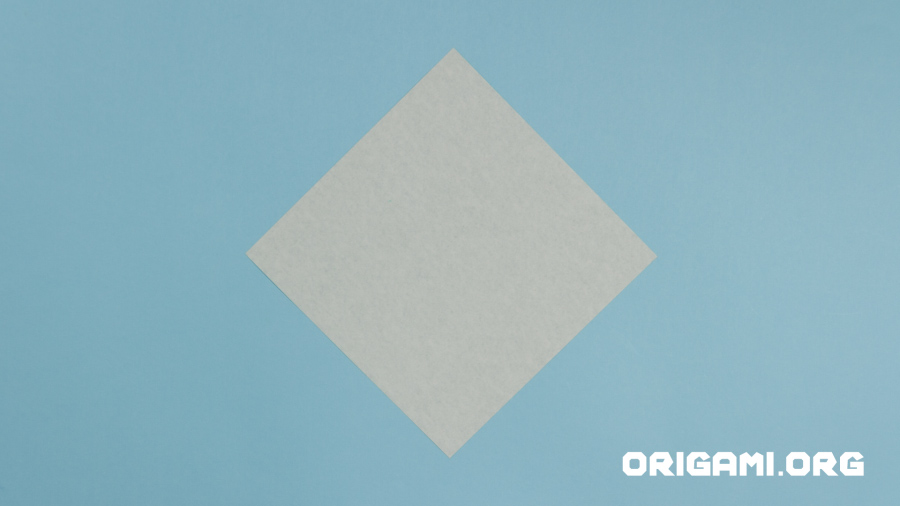
Step 17: Let’s create the rose’s leaves. Start with a square piece of origami paper – green would be perfect! (we’ve used origami paper with colour on only one side). Place the paper in a diamond shape.

Origami Rose Step 18

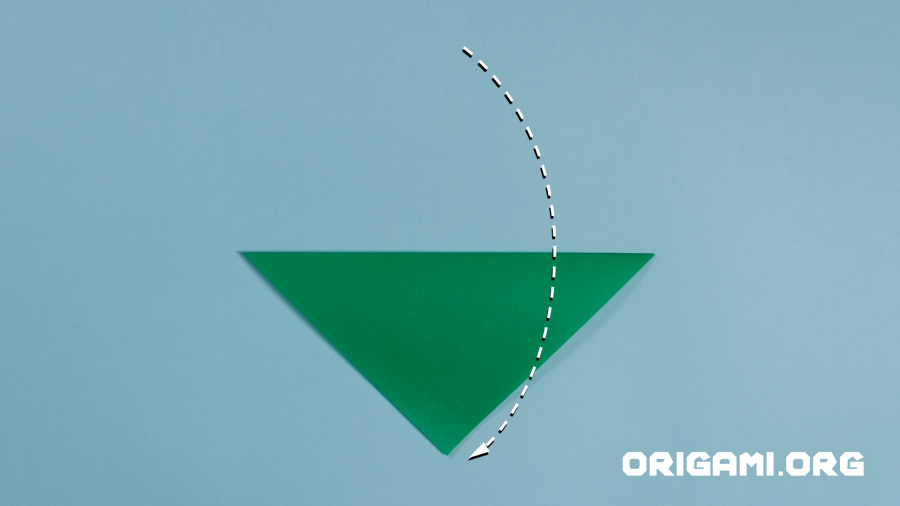
Step 18: Fold the top point down to meet the bottom point

Origami Rose Step 19

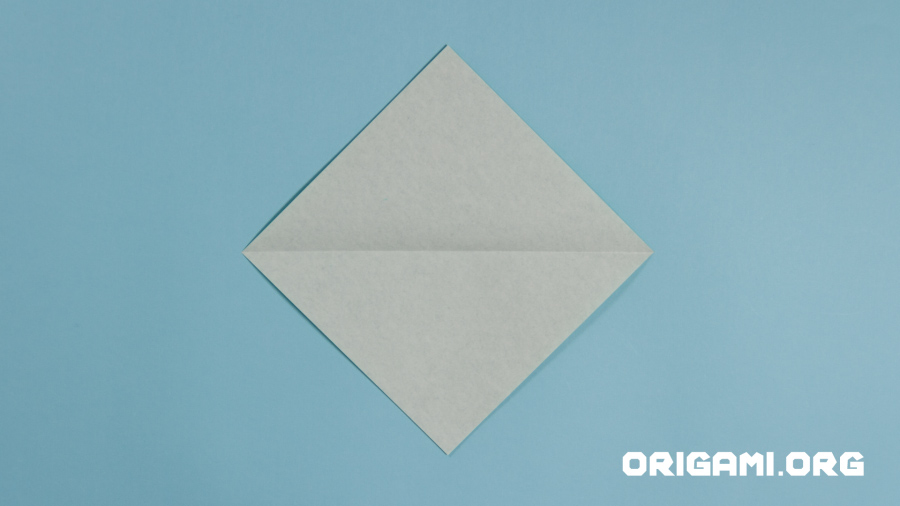
Step 19: Open up the paper

Origami Rose Step 20

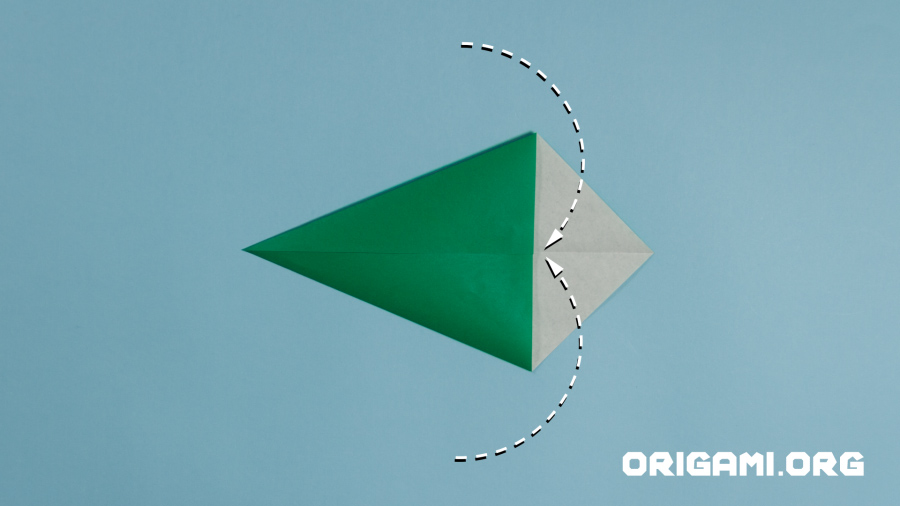
Step 20: Fold the top and bottom points in to meet the centre horizontal crease line

see next steps

Filed Under: Uncategorized

Primary Sidebar

Origami Instructions

  • Origami Dollar Bill Shirt and Tie
  • Origami Bird
  • Origami Cat (Easy)
  • Origami Dog
  • Origami Jumping Frog
  • Origami Boat
  • Origami Fortune Teller
  • Origami Heart With Wings
  • Origami Ninja
  • Origami Pokemon (Pikachu)
  • Origami Yoda
  • Origami Tulip
  • Origami Crane
  • Origami Turkey
  • Origami Heart
  • Origami Ninja Star
  • Origami Star Box
  • Wrapping presents without tape
  • Origami Sunflower
  • Origami Flower Bouquet
  • Origami Cornflower
  • Origami Rose
  • Origami Spy Plane
  • Origami Pteroplane
  • Origami Nakamura Lock Plane
  • Origami Cube Instructions

Origami Categories

  • Benefits
  • Dollar Bill
  • Easy Origami
  • Origami Animals
  • Origami Birds
  • Origami Flowers
  • Other Origami
  • Paper Airplanes
  • Uncategorized

Like Us On Facebook

Facebook Pagelike Widget

Footer

About Us

This website has been created with the simple aim of bringing the joy and benefits of origami to more people.  We have tried to make it as user friendly as possible.  If you can’t find what you’re looking for, try searching below.


Search

Choose Language

  • English
  • Deutsch
  • Português (Brasil)

Social

YouTube

Facebook

Copyright Origami.org © 2025