![origami yoda step 14](https://www.origami.org/wp-content/uploads/2023/07/yoda-Stills_0014-1024x576.jpg)
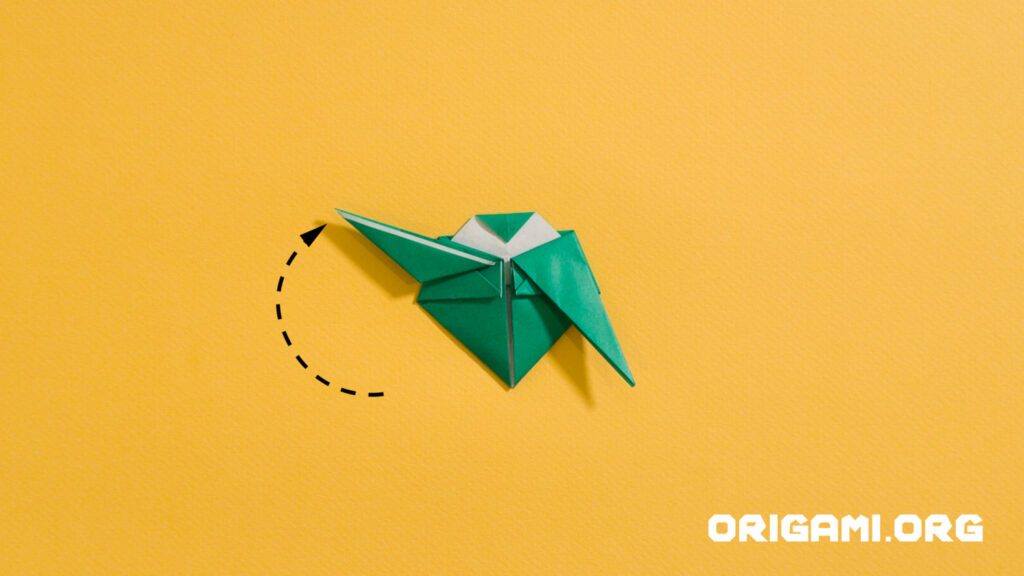
Step 14: Take the point from the left hand side and fold it upwards like this to make Yoda’s left ear.
![origami yoda step 15](https://www.origami.org/wp-content/uploads/2023/07/yoda-Stills_0015-1024x576.jpg)
Step 15: And then do the same with the right hand side
![origami yoda step 16](https://www.origami.org/wp-content/uploads/2023/07/yoda-Stills_0016-1024x576.jpg)
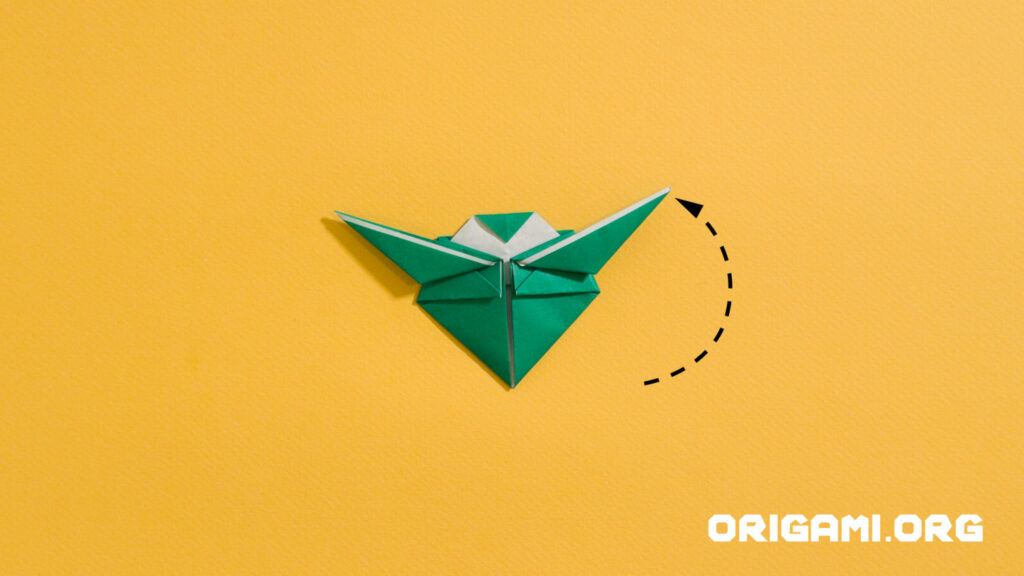
Step 16: Yoda doesn’t have a pointy chin! So fold up the point at the bottom just slightly to flatten it.
![origami yoda step 17](https://www.origami.org/wp-content/uploads/2023/07/yoda-Stills_0017-1024x576.jpg)
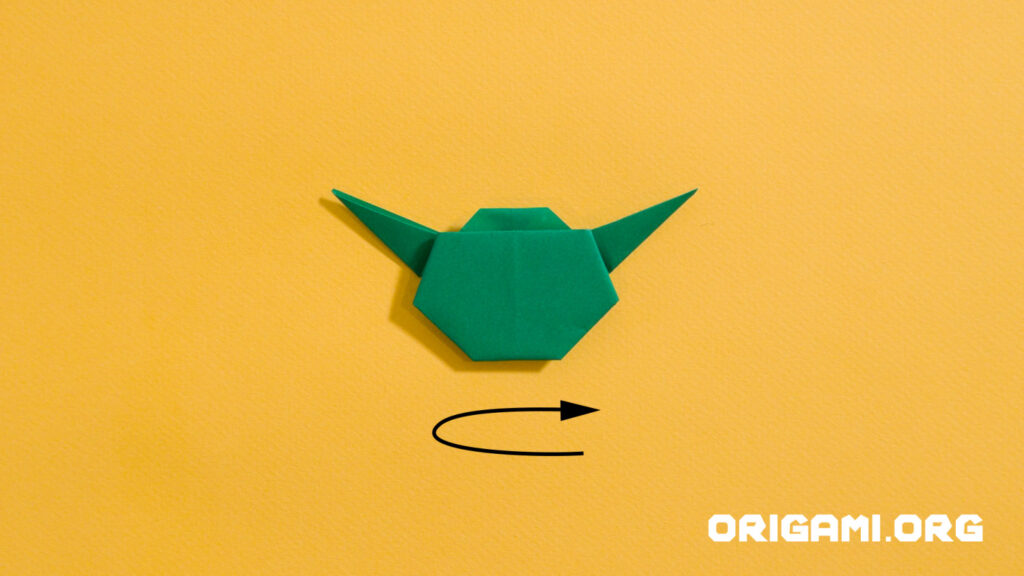
Step 17: Turn it over (or just use the Force if you’re a Jedi).
![origami yoda step 18](https://www.origami.org/wp-content/uploads/2023/07/yoda-Stills_0018-1024x576.jpg)
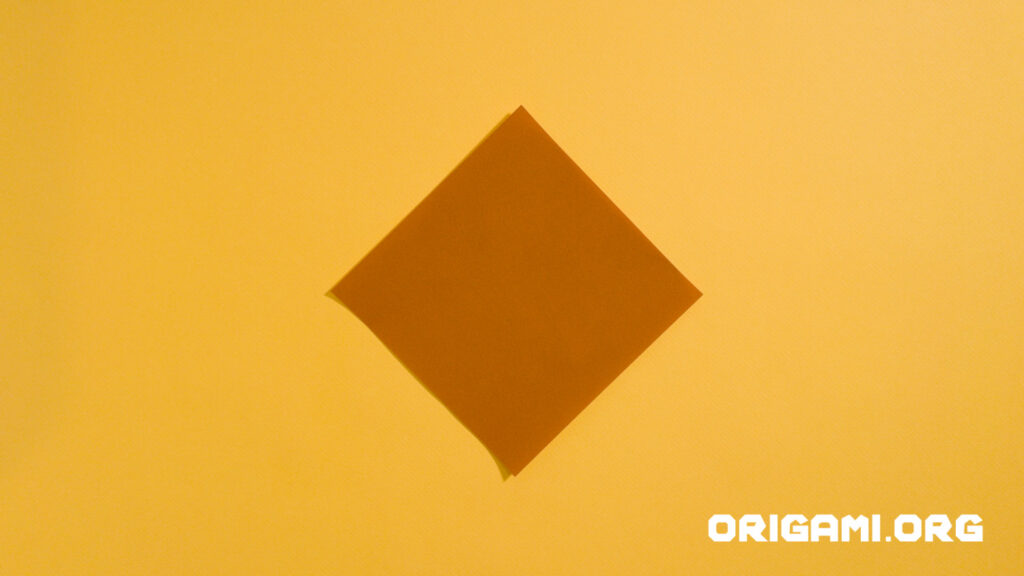
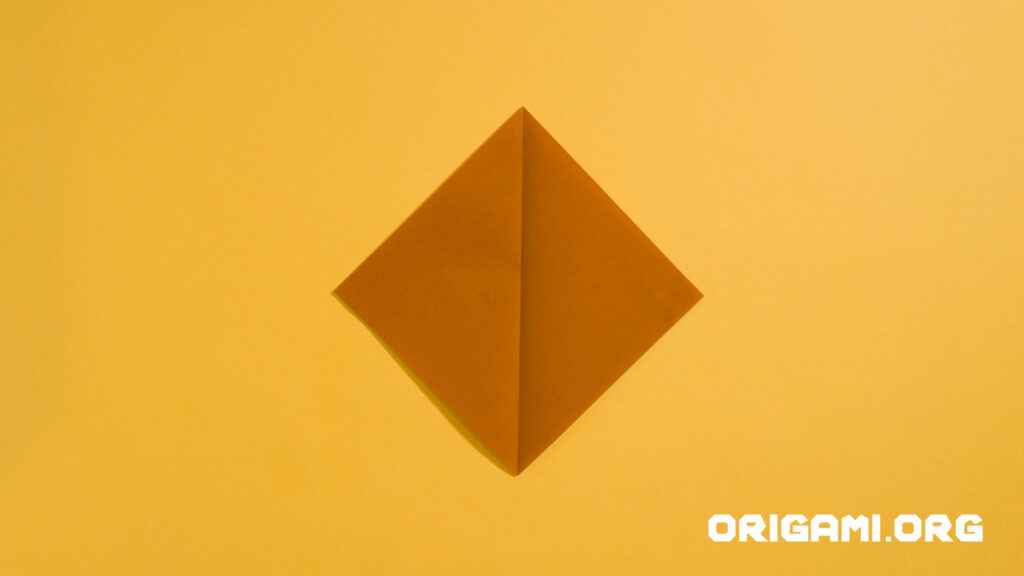
Step 18: Now for the robe (which also acts as the stand). Get another piece of square origami paper.
![origami yoda step 19](https://www.origami.org/wp-content/uploads/2023/07/yoda-Stills_0019-1024x576.jpg)
Step 19: Fold the right hand corner over to the left hand side, and crease firmly down the middle.
![origami yoda step 20](https://www.origami.org/wp-content/uploads/2023/07/yoda-Stills_0020-1024x576.jpg)
Step 20: Unfold the paper
![origami yoda step 21](https://www.origami.org/wp-content/uploads/2023/07/yoda-Stills_0021-1024x576.jpg)
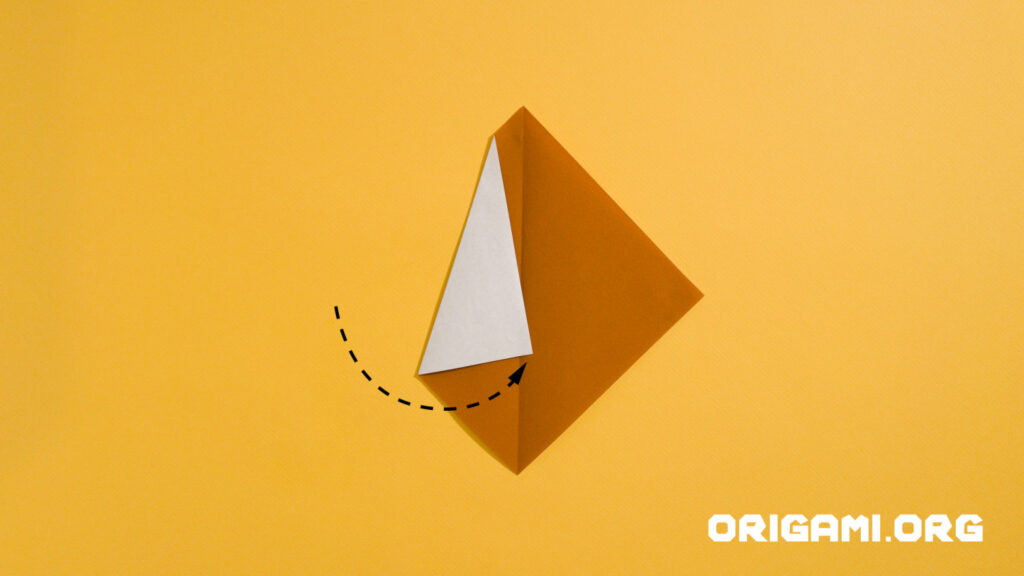
Step 21: Note the angle of the fold here. Take the left hand edge and fold it so that the corner is just over the centre line.
![origami yoda step 22](https://www.origami.org/wp-content/uploads/2023/07/yoda-Stills_0022-1024x576.jpg)
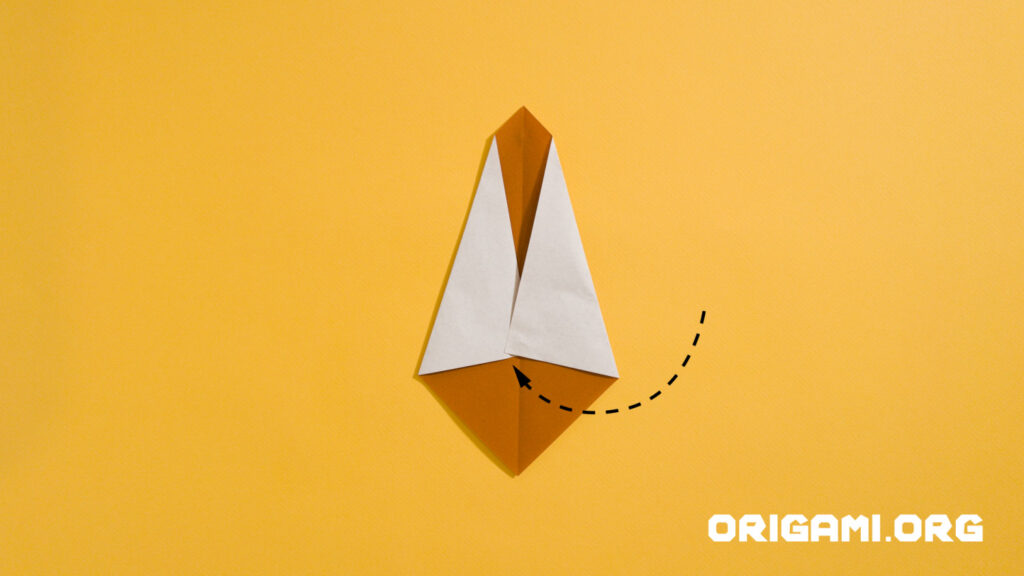
Step 22: Do the same with the right hand side.