![Origami Owl Step 11](https://www.origami.org/wp-content/uploads/2023/09/05A-Owl-stills_0011.jpg)
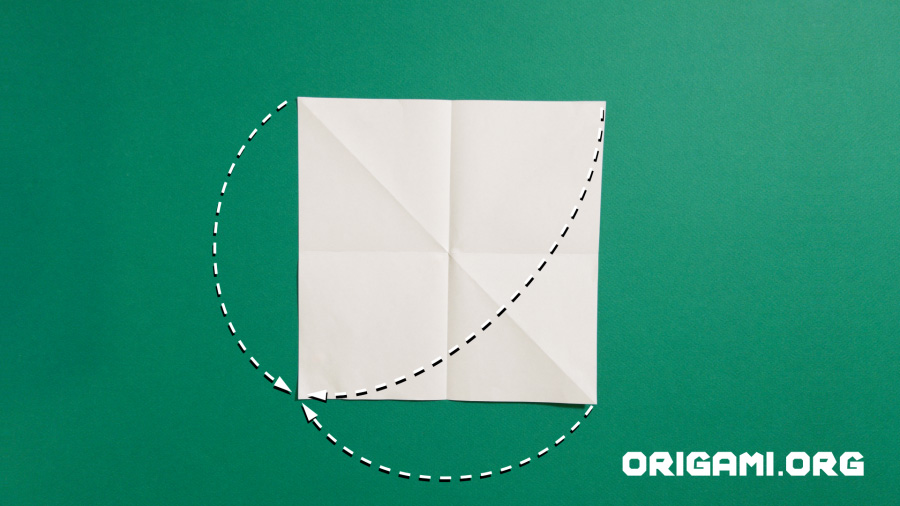
Step 11: Fold each corner over to the bottom left corner
![Origami Owl Step 12](https://www.origami.org/wp-content/uploads/2023/09/05A-Owl-stills_0012.jpg)
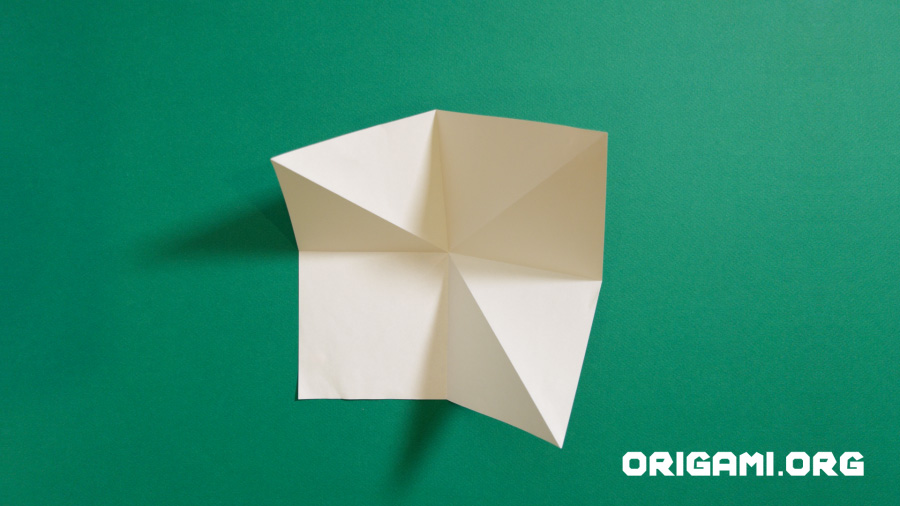
Step 12: As you fold, your paper should look like this
![Origami Owl Step 13](https://www.origami.org/wp-content/uploads/2023/09/05A-Owl-stills_0013.jpg)
Step 13: Keep folding!
![Origami Owl Step 14](https://www.origami.org/wp-content/uploads/2023/09/05A-Owl-stills_0014.jpg)
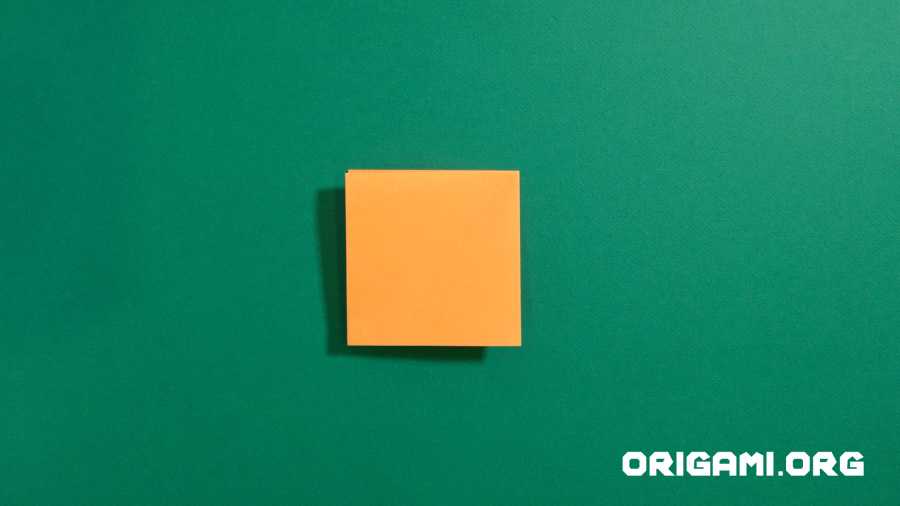
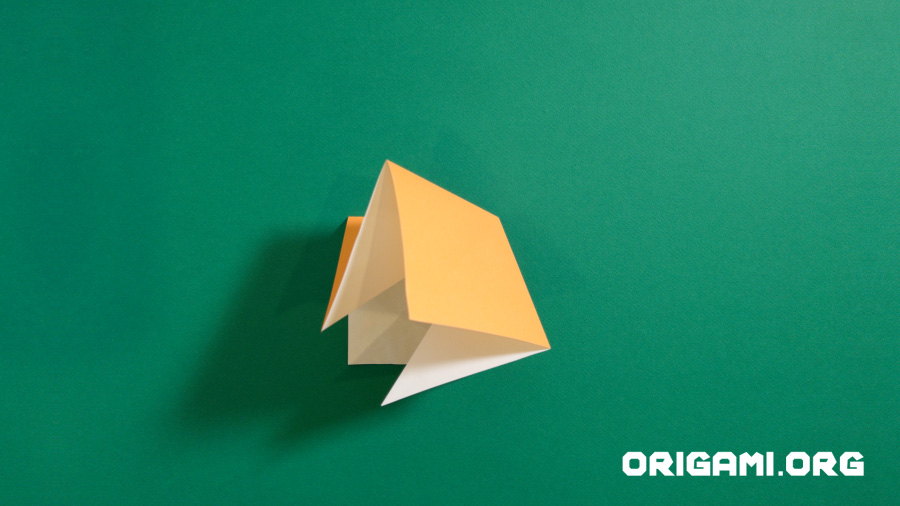
Step 14: Press down your new folds to create this square
![Origami Owl Step 15](https://www.origami.org/wp-content/uploads/2023/09/05A-Owl-stills_0015.jpg)
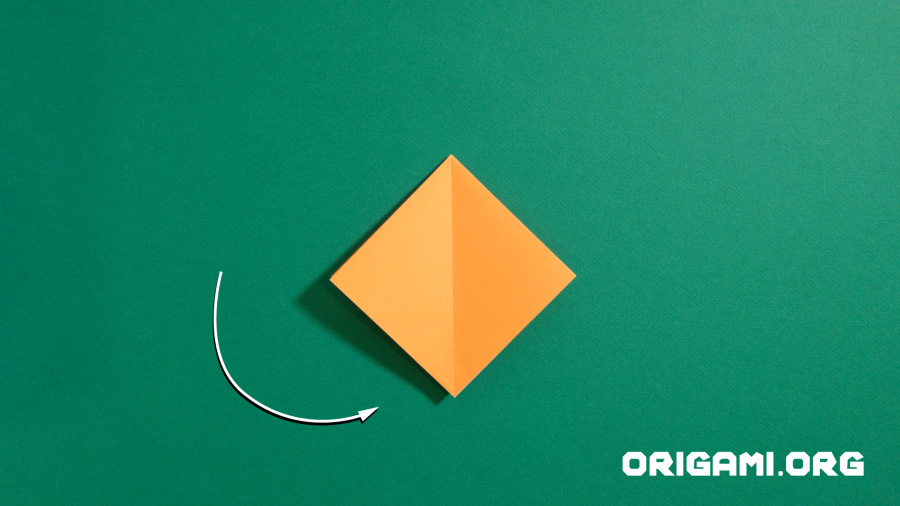
Step 15: Turn the square anticlockwise so it is now a diamond shape
![Origami Owl Step 16](https://www.origami.org/wp-content/uploads/2023/09/05A-Owl-stills_0016.jpg)
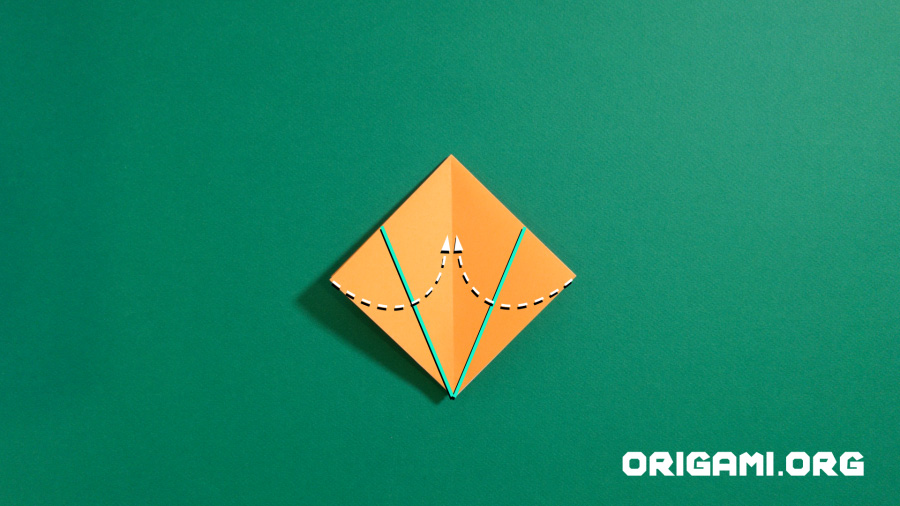
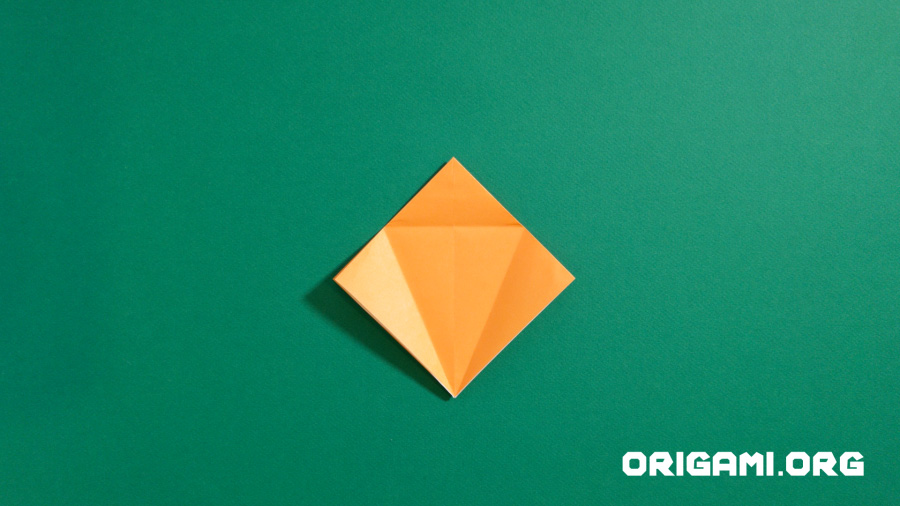
Step 16: Fold the top layers of paper inwards to meet the centre crease line, creating the green crease lines
![Origami Owl Step 17](https://www.origami.org/wp-content/uploads/2023/09/05A-Owl-stills_0017.jpg)
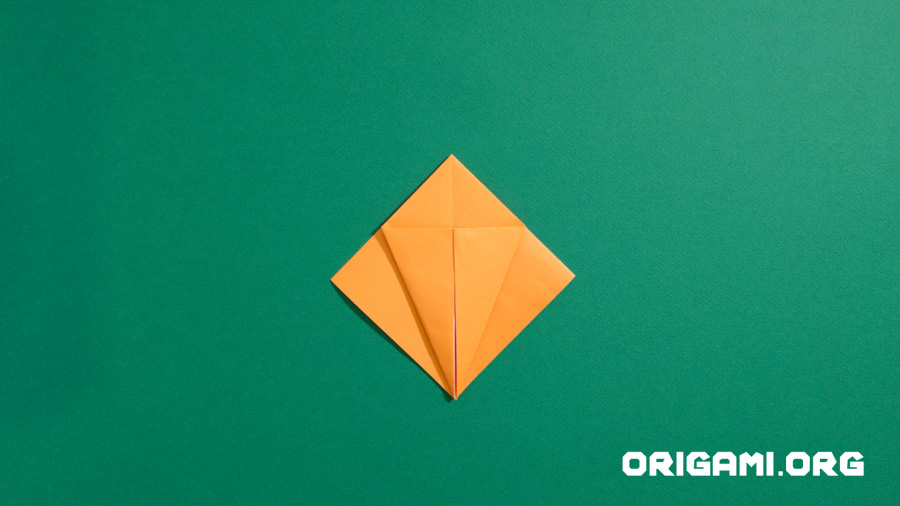
Step 17: Press the folds down and it should look like this
![Origami Owl Step 18](https://www.origami.org/wp-content/uploads/2023/09/05A-Owl-stills_0018.jpg)
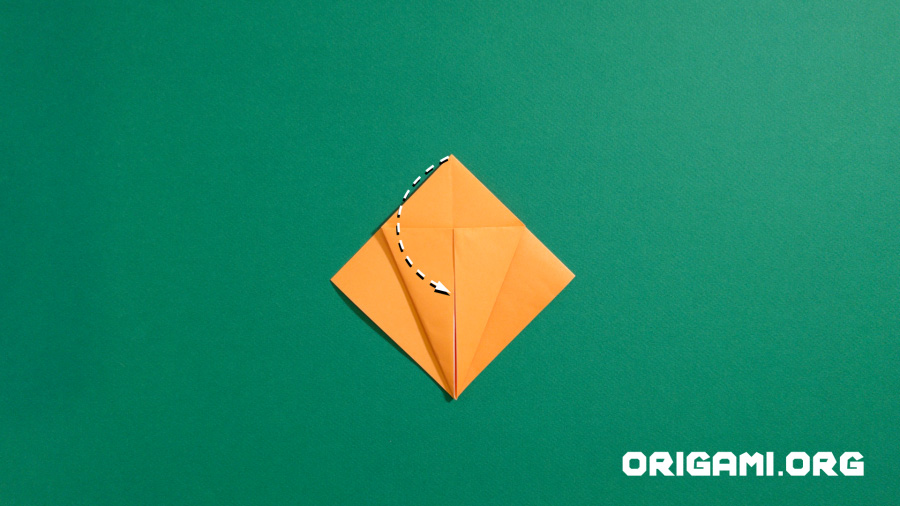
Step 18: Fold the tip of the paper down
![Origami Owl Step 19](https://www.origami.org/wp-content/uploads/2023/09/05A-Owl-stills_0019.jpg)
Step 19: Your paper should now look like this
![Origami Owl Step 20](https://www.origami.org/wp-content/uploads/2023/09/05A-Owl-stills_0020.jpg)
Step 20: Open up the folds so your paper looks like this