![Dollar Bill Shirt and Tie Step 12](https://www.origami.org/wp-content/uploads/2023/08/02A-dollar-shirt-and-tie-Stills_0016.jpg)
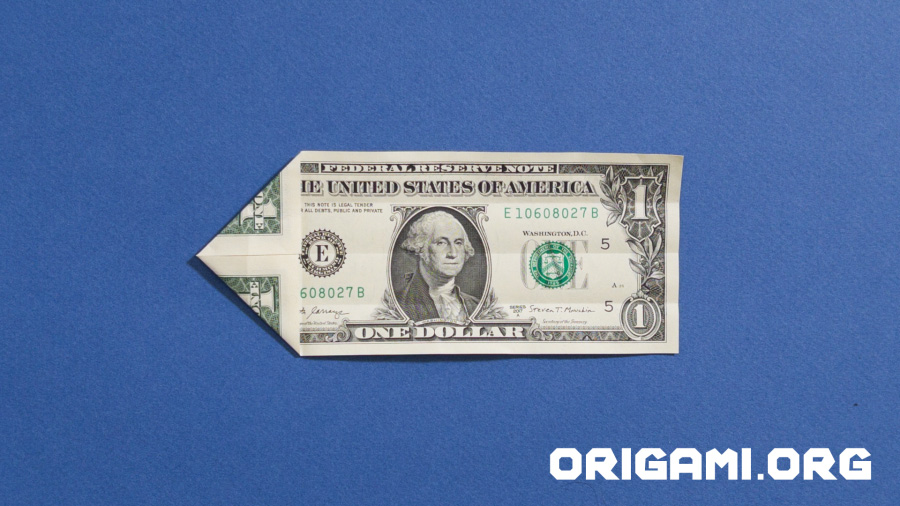
Step 12: Fold the same corner back to where it was like this
![Dollar Bill Shirt and Tie Step 13](https://www.origami.org/wp-content/uploads/2023/08/02A-dollar-shirt-and-tie-Stills_0017.jpg)
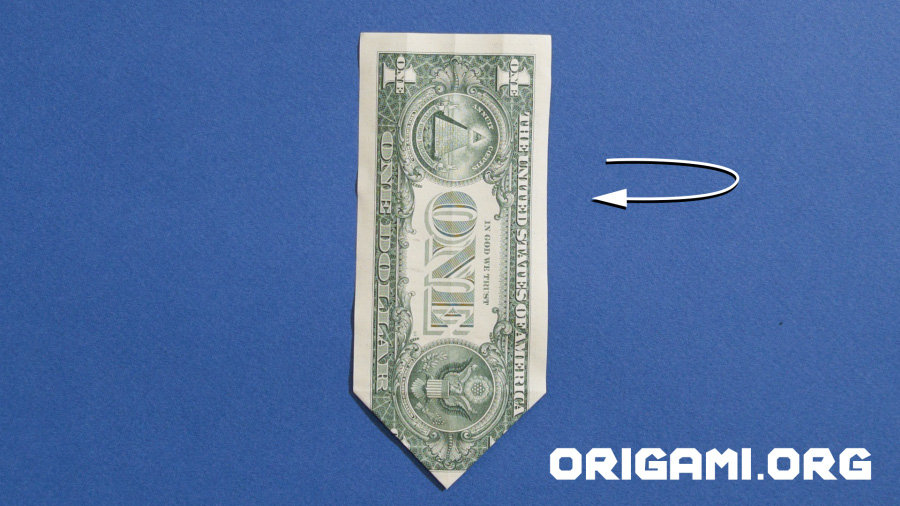
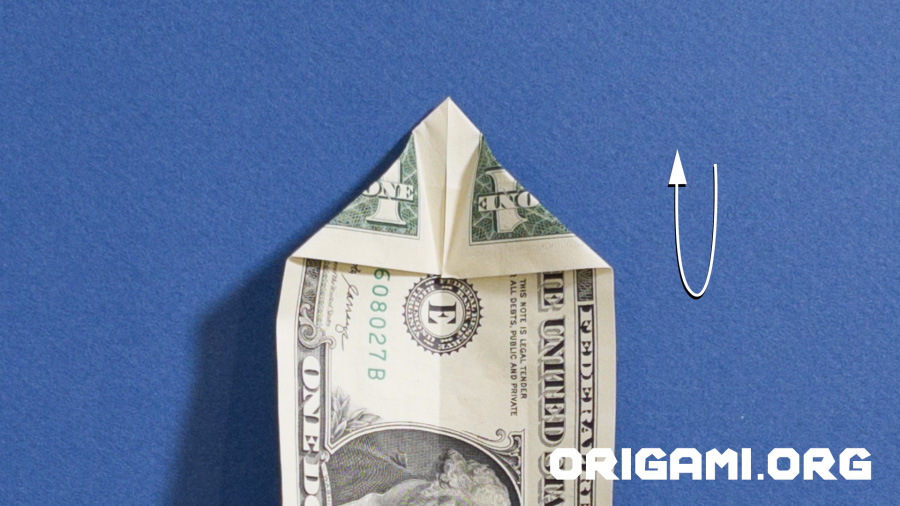
Step 13: Turn the dollar bill over and make the point face downwards
![Dollar Bill Shirt and Tie Step 14](https://www.origami.org/wp-content/uploads/2023/08/02A-dollar-shirt-and-tie-Stills_0018.jpg)
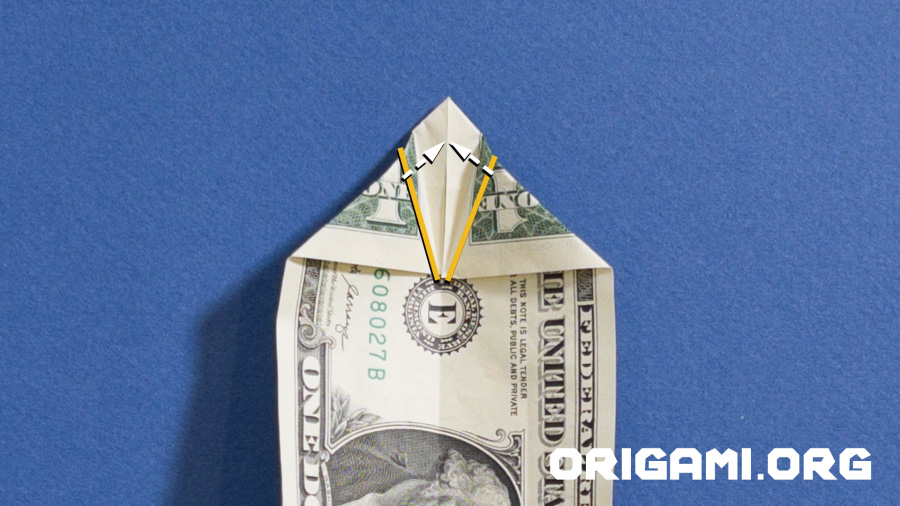
Step 14: This step is a little tricky, but don’t worry! We recommend that you have a look at our dollar bill shirt and tie video to help you understand the step. Do you see the little white triangle at the point of the dollar bill? This fold starts from the two corners of that triangle. You need to fold the sides in behind it. Look at the next step.
![Dollar Bill Origami Shirt and Tie Step 15](https://www.origami.org/wp-content/uploads/2023/08/02A-dollar-shirt-and-tie-Stills_0019.jpg)
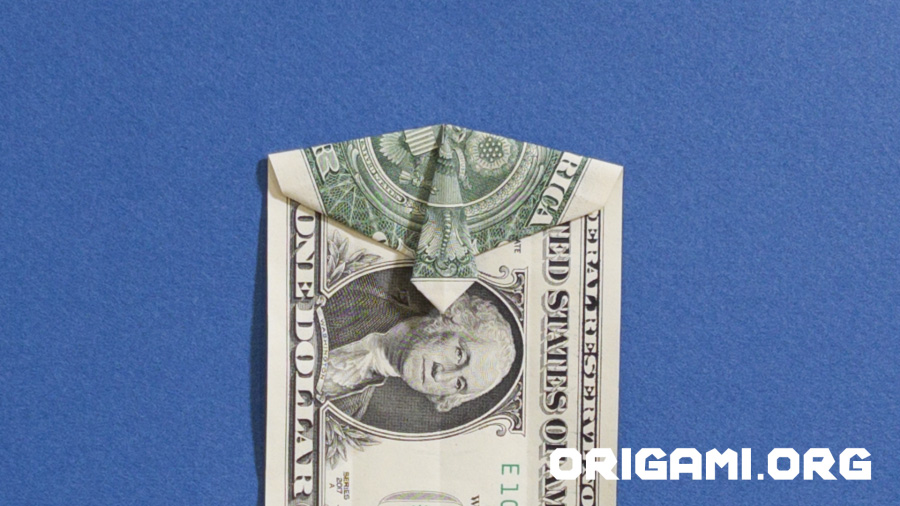
Step 15: As you make those folds you will see a little ‘tie’ shape pop out. Crease the lines firmly to define the edges.
![dollar shirt and tie step 16](https://www.origami.org/wp-content/uploads/2023/08/02A-dollar-shirt-and-tie-Stills_0020.jpg)
Step 16: Flip the dollar bill over. Don’t worry about the tie shape disappearing, we will put it back in the next step!
![dollar shirt and tie step 17](https://www.origami.org/wp-content/uploads/2023/08/02A-dollar-shirt-and-tie-Stills_0021.jpg)
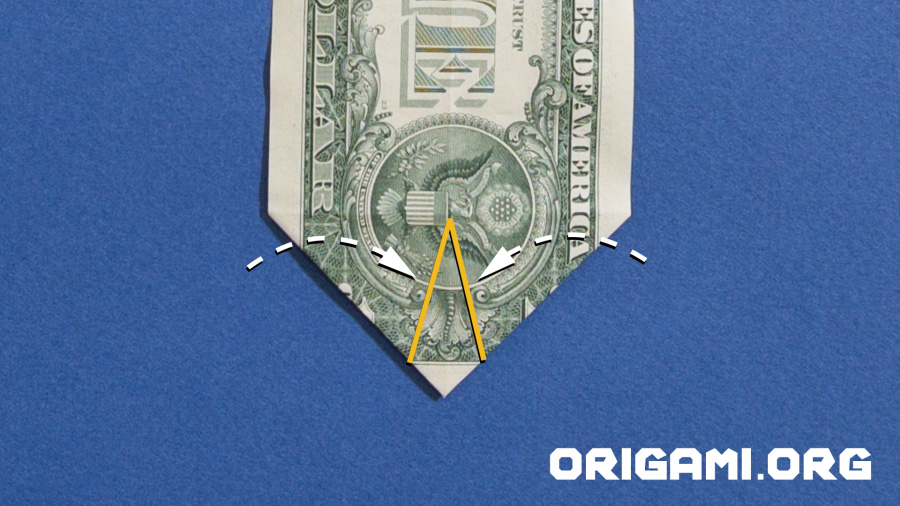
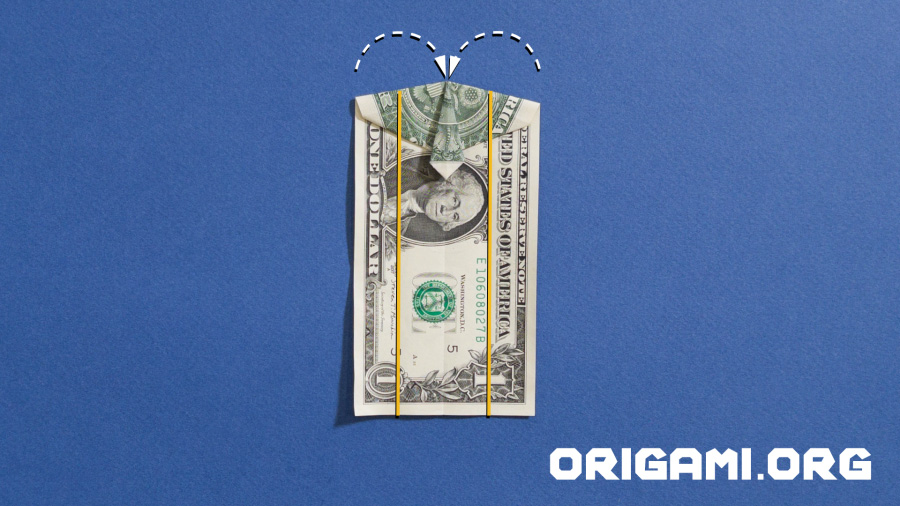
Step 17: Fold along the yellow lines to recreate the tie shape.
![dollar shirt and tie step 18](https://www.origami.org/wp-content/uploads/2023/08/02A-dollar-shirt-and-tie-Stills_0022.jpg)
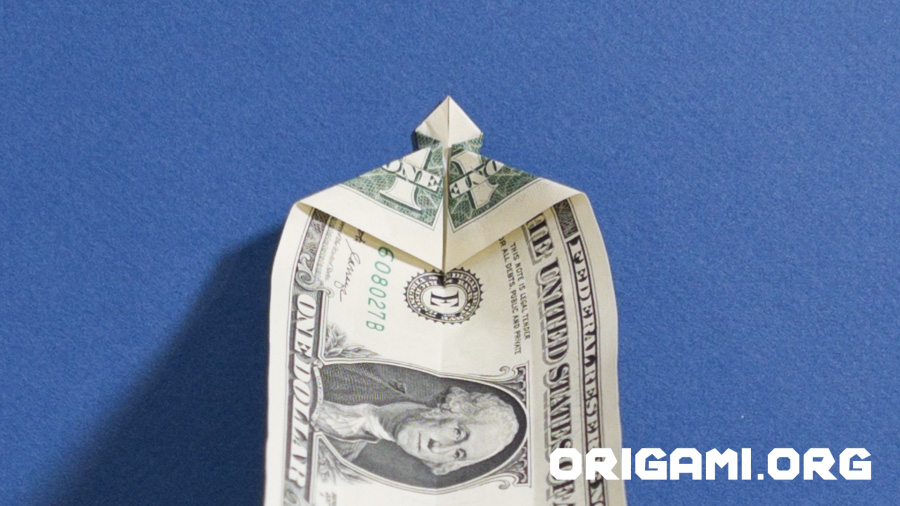
Step 18. Your dollar bill should now look like this.
![dollar shirt and tie step 19](https://www.origami.org/wp-content/uploads/2023/08/02A-dollar-shirt-and-tie-Stills_0023.jpg)
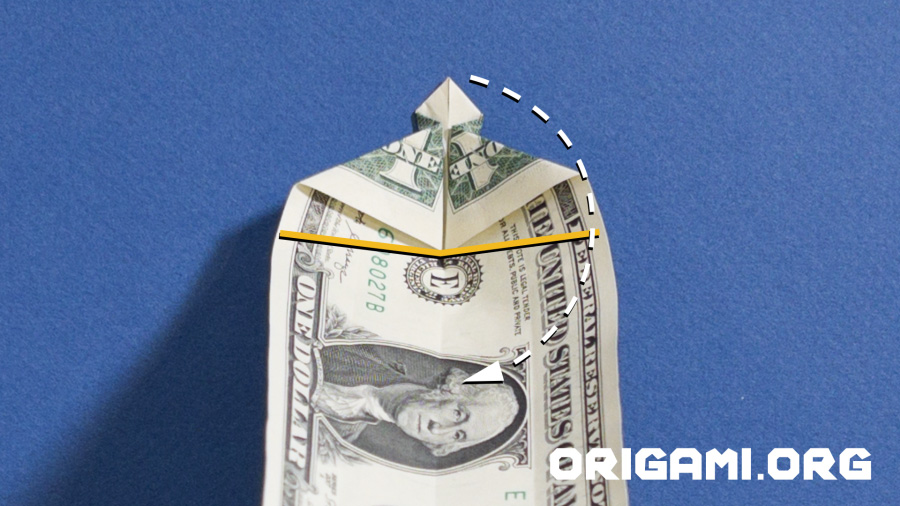
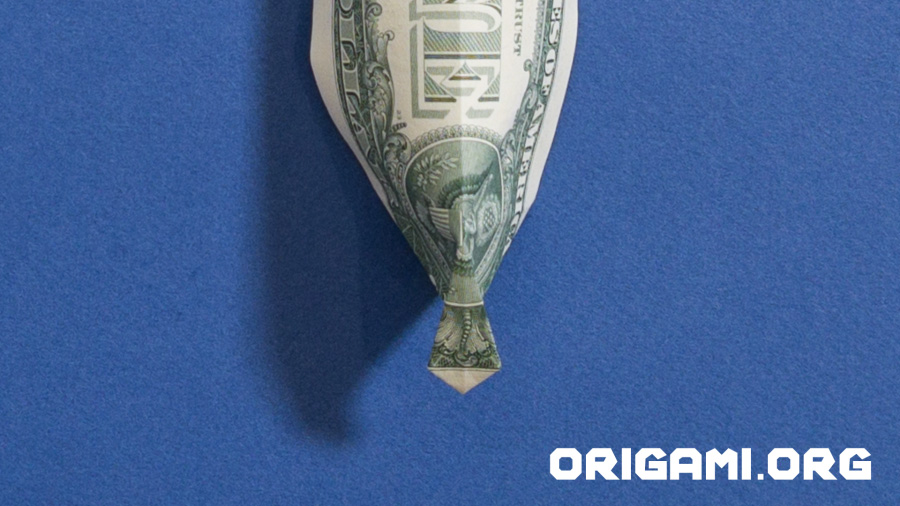
Step 19: Now fold the tip of the tie downwards, along the yellow line shown.
![dollar shirt and tie step 20](https://www.origami.org/wp-content/uploads/2023/08/02A-dollar-shirt-and-tie-Stills_0024.jpg)
Step 20: Your dollar bill should now look like this.
![origami dollar bill shirt and tie step 21](https://www.origami.org/wp-content/uploads/2023/08/02A-dollar-shirt-and-tie-Stills_0025.jpg)
Step 21: Fold the sides in towards the centre, along the yellow lines shown.
![origami dollar bill shirt and tie step 22](https://www.origami.org/wp-content/uploads/2023/08/02A-dollar-shirt-and-tie-Stills_0026.jpg)
Step 22: Your dollar bill should now look like this.