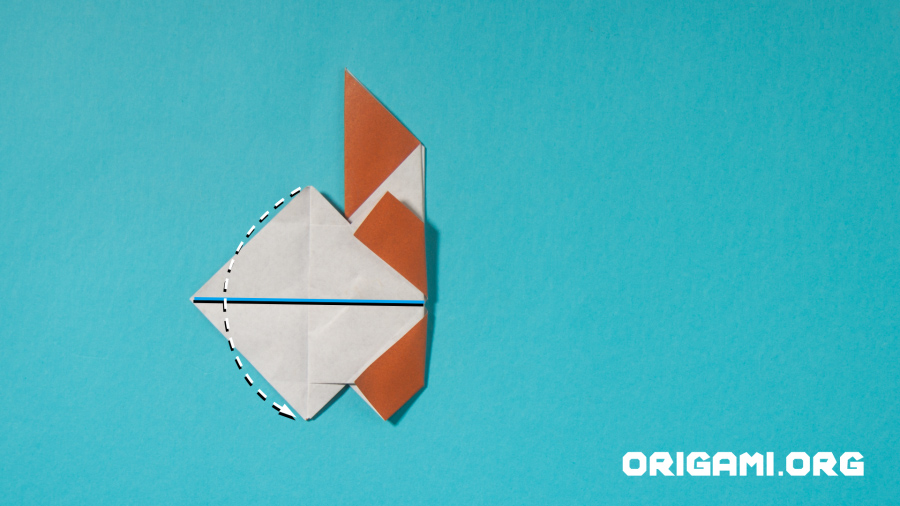
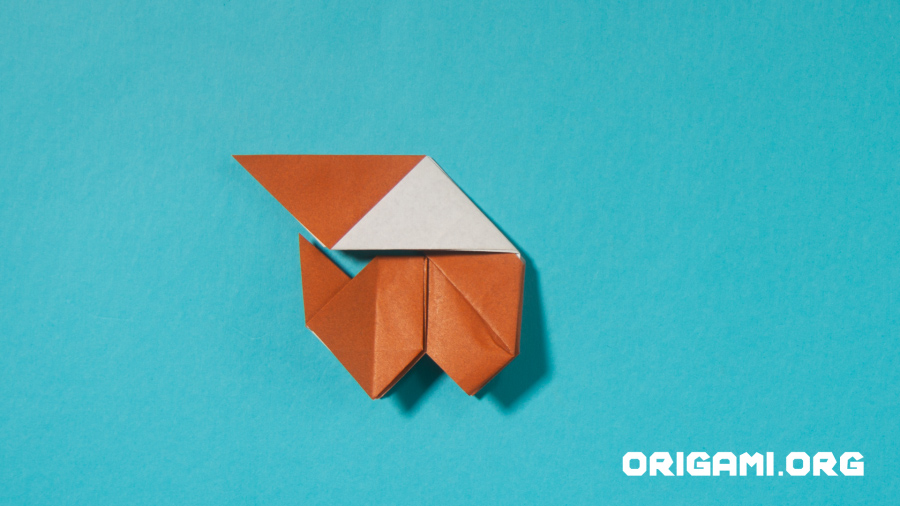
Step 22: Your creation should now look like this.
Fold down the left part of the paper in half horizontally, creasing where shown in blue
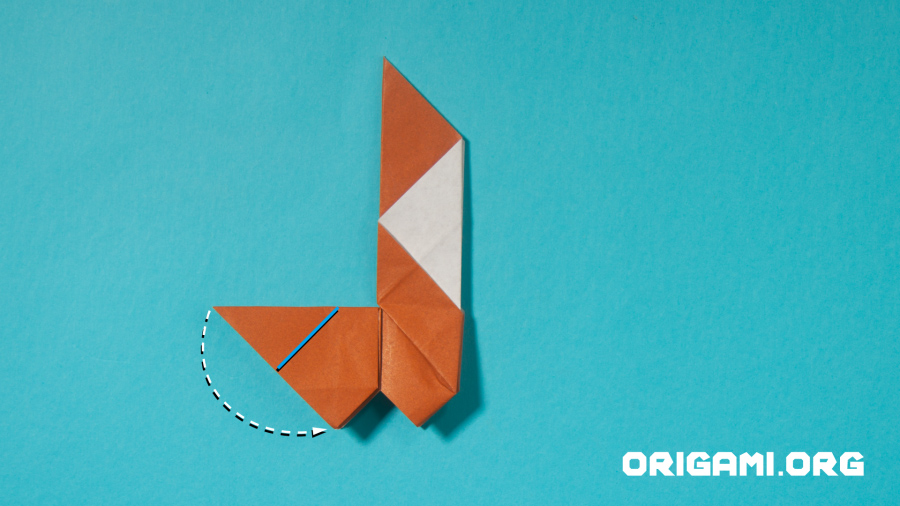
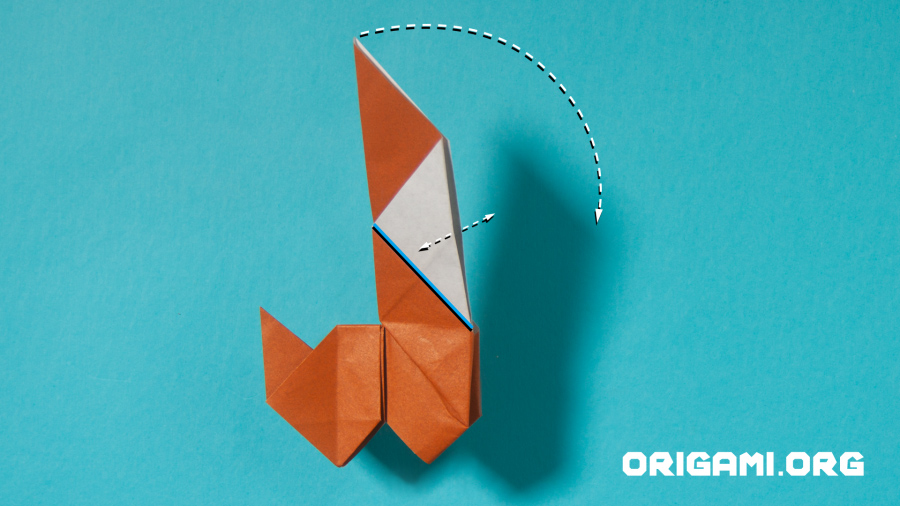
Step 23: Your creation should now look like this.
Fold the left point diagonally downwards, creasing where indicated in blue
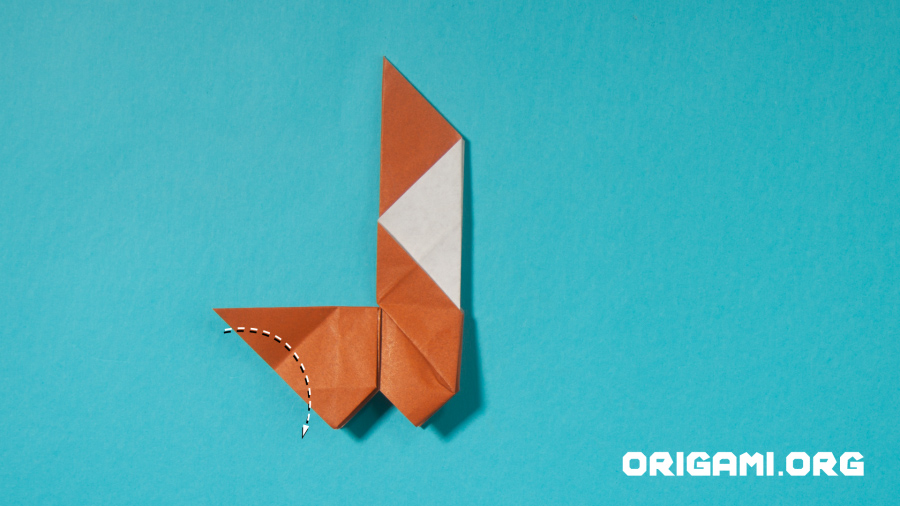
Step 24: Unfold the last fold. Take the left point and tuck it inside and down
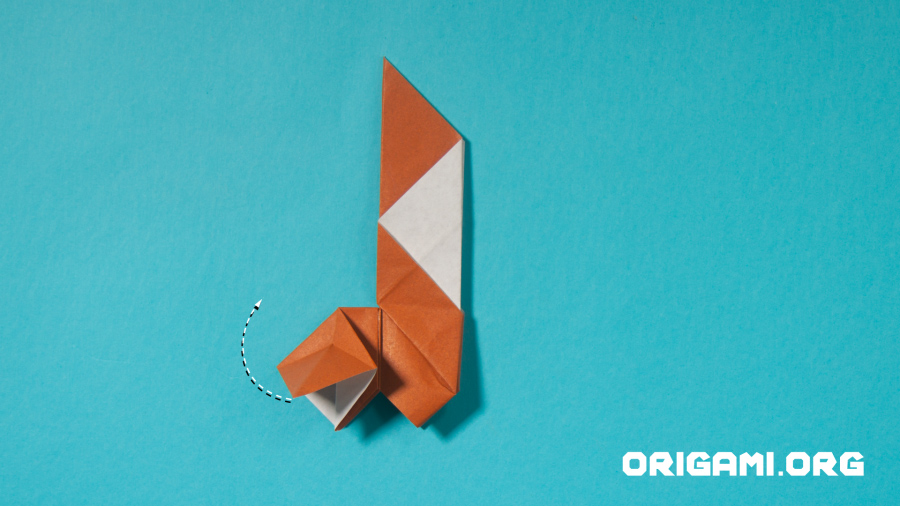
Step 25: Take the inside point and raise it upwards, folding it to create a small triangle – this is the puppy’s tail

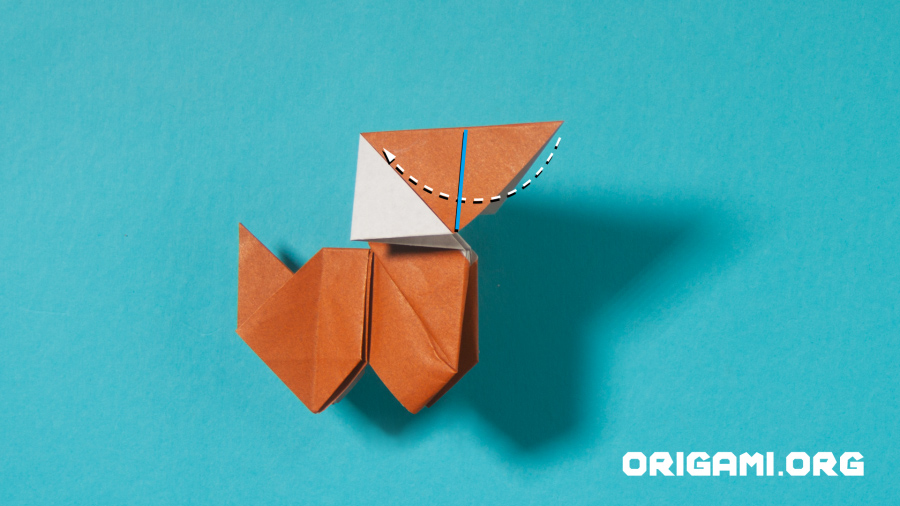
Step 26: Your puppy should now look like this.
Fold the top point down to the left, creasing where shown in blue
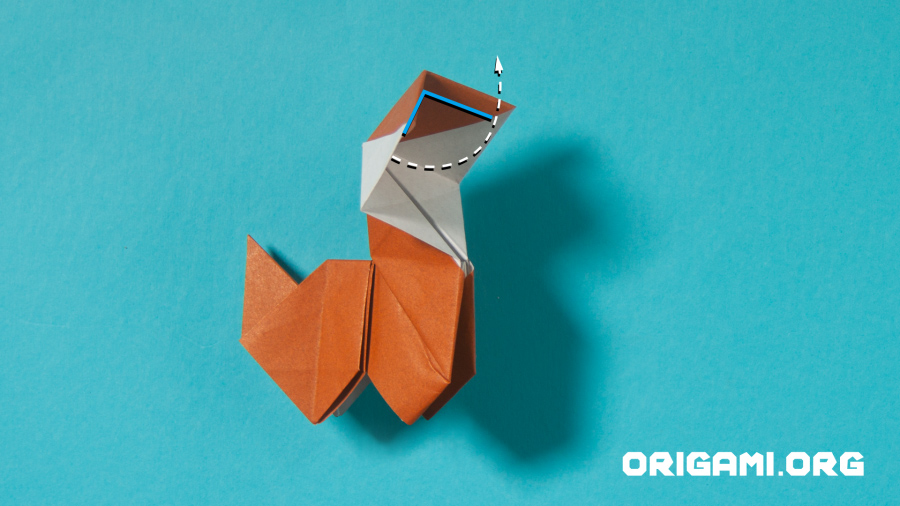
Step 27: Your puppy should now look like this
Step 28: Gently open the layers of paper outwards towards the blue crease lines, as you do this the top point should lower to form the puppy’s head
Step 29: Fold the puppy’s nose backwards, creasing along the blue line. You will also need to repeat this step and fold along the left blue line.
Step 30: Open up the puppy’s head and fold inside to create a snout, creasing along the top of the puppy’s head
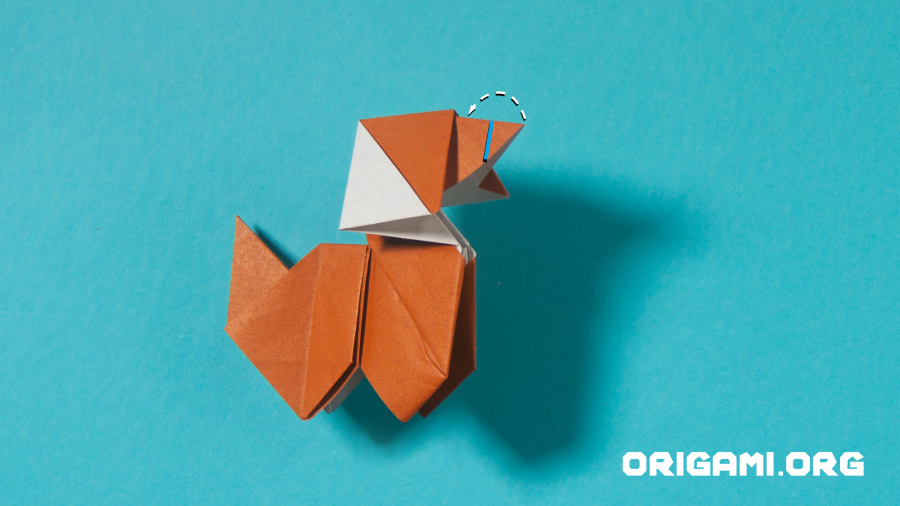
Step 31: Fold the tip of the puppy’s nose backwards on itself, folding where shown in blue
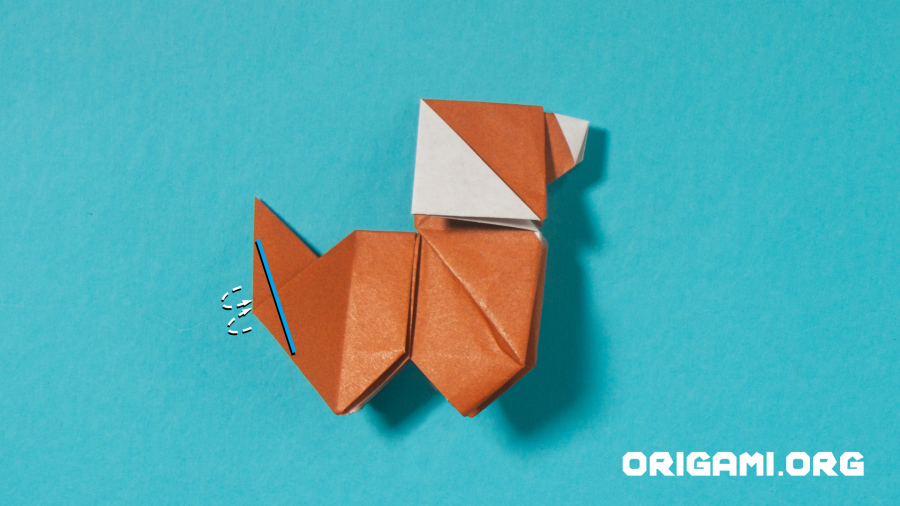
Step 32: Fold the paper inwards, creasing along the blue lines
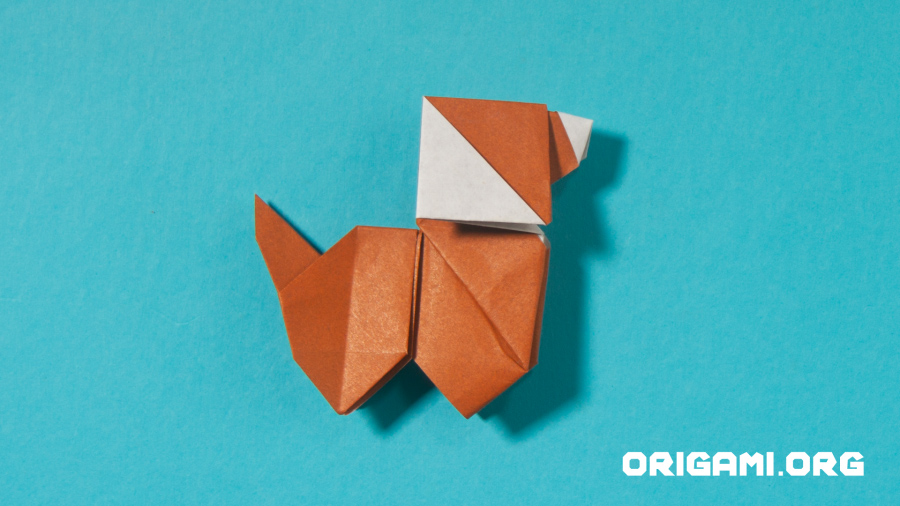
Your puppy is ready for walkies!